Why Preparing Your Water Filter Before a Trip Is Important
When your filtration system sits unused for more than a few days, water inside the system becomes stagnant. This creates the perfect environment for bacteria, algae, and mold to form — especially in warm temperatures. Some filters can dry out and crack if left exposed, while others may lose effectiveness or even become contaminated.
By taking a few simple precautions, you can protect your investment and ensure your water stays clean and safe when you return.
What to Do Before You Leave
Step 1: Shut Off the Main Water Supply
- Locate the valve that controls water flow into your filtration system and turn it off completely.
- This stops new water from entering the system and helps you safely depressurize it in the next step.
Step 2: Release Pressure from the Filter Housings
- Press the pressure relief buttons on top of each housing (if available) to release internal pressure.
- This is essential to avoid water spraying out or difficulty unscrewing the housings.
- Place a towel or bucket underneath to catch residual water.
Step 3: Unscrew the Filter Housings
- Use the system’s filter wrench to unscrew each housing unit (usually done counterclockwise).
- Be prepared for some water to spill out — keep towels or a bucket nearby.
- Wipe down any pressure gauges and remove O-rings to clean and dry them. Apply food-grade silicone grease before reassembling to maintain a proper seal after your return.
Step 4: Remove the Filter Cartridges
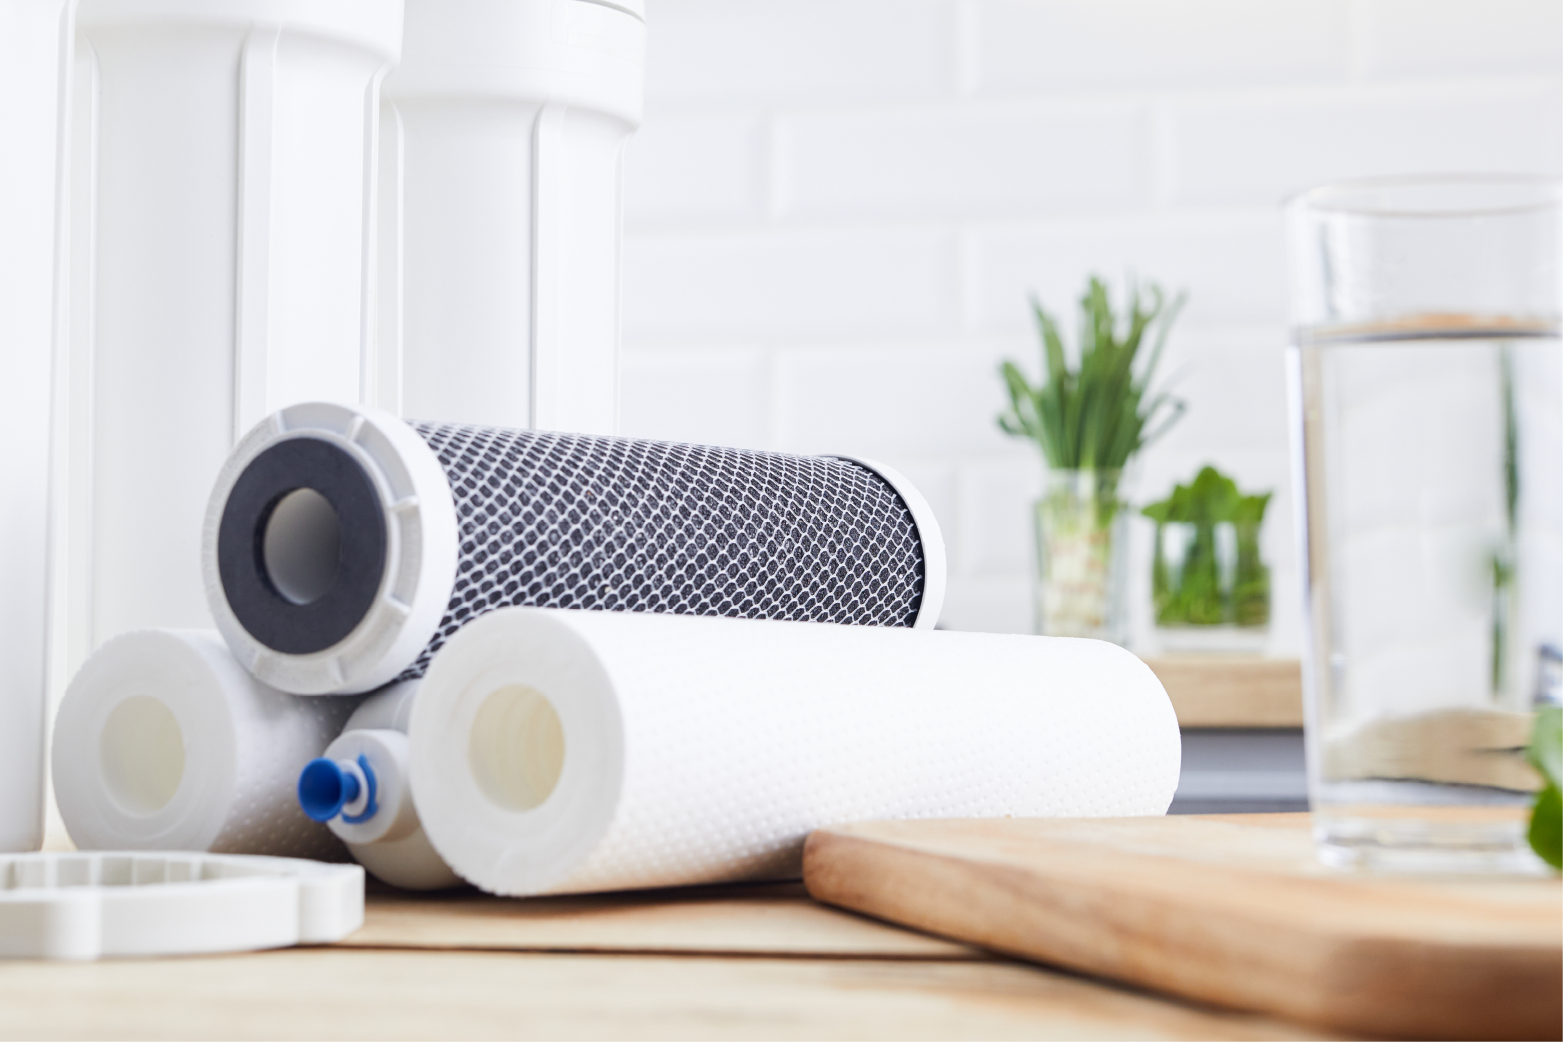
- Carefully take out the cartridges (e.g., sediment, carbon block, or specialty filters like iron/manganese).
- Inspect each filter:
- If it's close to the end of its lifespan or looks heavily discolored/slimy, it’s best to discard it.
- If it’s still usable, move to the cleaning and storage step.
Step 5: Drain and Clean the Filters (If Reusable)
- Shake off excess water without squeezing or twisting the filters.
- Do not rinse carbon filters with soap or hot water.
- You may gently rinse sediment filters with clean water if they’re designed for reuse — check your product manual.
Step 6: Wrap and Store Filters
- Wrap each filter in a clean, damp paper towel or cloth to prevent it from drying too quickly (unless dry storage is allowed).
- Place the wrapped filter in a sealed plastic bag or airtight container.
- Label the bag with the date of removal and the filter type for easy reference.
- Store in a cool, dry indoor location — such as a utility cabinet or basement shelf.
- Avoid freezing temperatures or hot areas like garages or attics.
Step 7: Clean and Reassemble Empty Housings
- Rinse and wipe dry the inside of each housing with a soft cloth.
- Leave housings loose and empty, or lightly screw them back on to keep insects or dust out while still allowing air circulation.
- Avoid sealing tightly if no filter is inside, as trapped moisture may promote mold.
Step 8: Follow Manufacturer Instructions
- Always consult the specific instructions for your filter model.
- Some filters can dry out and be reused.
- Others (especially carbon block) should remain slightly moist to preserve performance.
- If unsure, consider discarding older filters and starting with fresh ones when you return.
- Do not freeze filters or leave them exposed to heat or direct sunlight.
Some filters can dry out completely and still be reused — always check the user manual for storage guidelines.
4. Clean the Exterior and Connection Points
Wipe down the system’s exterior with a soft, damp cloth. Clean faucet heads, tubing, and connection points where dust, moisture, or mold can accumulate. A dry system with clean contact points is less likely to harbor bacteria.
Tips for Long-Term Storage
If you're planning to be away for more than a few weeks, consider these extra steps:
- Drain the system completely: Disconnect any tubing and let the internal water drain out.
- Unplug power (if any): For powered systems or those with UV lamps, unplug the unit to protect it during power fluctuations.
- Store in a cool, dry place: Avoid storing filters or the system in hot garages or damp basements.
- Label your filter removal date: It’ll help you remember how long the filters have been idle when you return.
When You Return: Restarting Your System
Once you're back home, it’s time to safely reactivate your filtration system:
- Reinstall the filters (or replace them if they’re past their lifespan)
- Flush the system thoroughly – run clean water for 5–10 minutes to remove any stagnant water or odors
- Check for leaks or signs of mold
- Reset filter indicators or timers if your system has them
If the system has a slightly musty smell or if the water seems cloudy, consider replacing the filter even if it hasn’t reached its maximum lifespan.
Final Tips
Every filtration system is slightly different, so always refer to your user manual before taking action. Some filters may tolerate longer idle periods better than others. When in doubt, replace filters after extended non-use to ensure the best water quality.
With just a little planning, your filtration system will be ready and waiting — clean, safe, and running smoothly — the moment you walk back through the door.


